How to Remove a 3D Print from Bed: 7 Safe Methods for Beginners
Learn 7 safe methods to remove a 3D print from the bed without damaging your print or build plate — from cooling tricks to printer-specific tips.
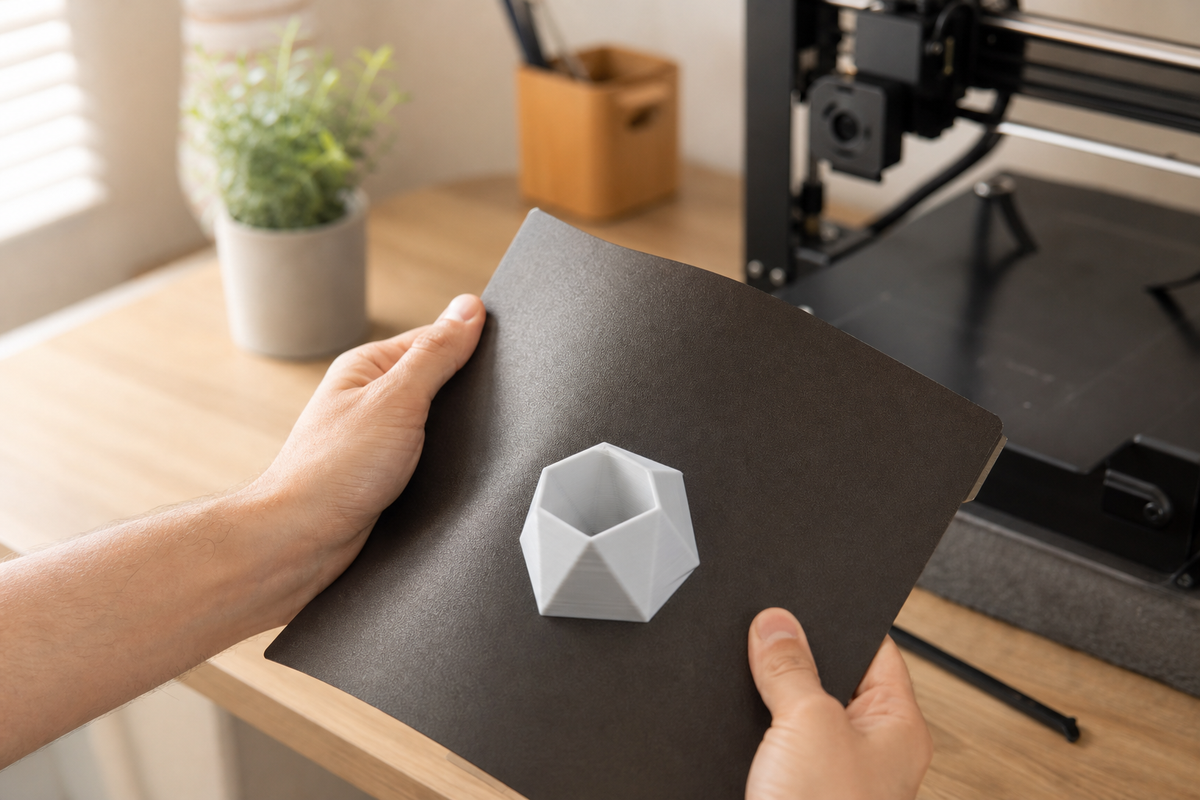
You just watched your printer lay down the final layer. The print looks perfect. Now comes the part nobody warns you about — actually getting it off the bed without breaking something.
Whether your 3D print is stuck to the bed like concrete or you're just not sure how much force is "too much," this guide covers every safe removal method, organized by what actually works for your specific printer, material, and bed surface.
Why Is My 3D Print Stuck to the Bed?
Before reaching for tools, it helps to understand why prints stick too hard in the first place. There are four common causes:
Over-squished first layer. If your nozzle is too close to the bed (Z-offset too low), it presses the molten filament so flat that it creates an almost mechanical bond with the surface. This is the #1 reason for stuck prints.
Bed temperature too high. Materials like PETG and ABS become extremely adhesive at elevated temperatures. A bed that's 10°C too hot can turn a normal print into a permanent fixture.
Wrong adhesive for the material. Printing PETG directly on smooth PEI without a release agent is a recipe for disaster — it can literally fuse to the surface and rip chunks off your build plate.
Removing too early. Trying to peel off a print while the bed is still hot means the plastic is soft, expanded, and at maximum grip. Patience solves most stuck prints before any tool does.
7 Safe Ways to Remove a 3D Print from Bed
Here are seven methods in order from gentlest to most aggressive. Always start at #1 and work your way down.
1. Let It Cool Down Completely (Always Try This First)
This single tip solves 80% of stuck print situations.
As your print bed cools from printing temperature down to room temperature, the plastic and the bed surface contract at different rates. This "differential shrinkage" creates stress at the interface and naturally breaks the bond. Many prints will literally pop off on their own — you might even hear an audible click.
How to do it:
- Turn off the heated bed and wait 10–20 minutes
- Don't touch the print while cooling
- For large prints, wait until the bed reaches full room temperature (this can take 30+ minutes)
Pro tip: If you're impatient, remove the build plate from the printer and place it on a cool surface like a stone countertop or tile floor. The thermal mass draws heat away faster.
2. Flex the Build Plate
If your printer uses a magnetic spring steel plate (most modern printers do), this is the fastest hands-on method.
How to do it:
- Wait until the bed is below 35°C
- Remove the plate from the printer
- Hold it with both hands and gently bend it into a slight curve
- The print should pop right off
Important: Don't over-flex. A gentle 10–15 degree bend is plenty. Bending too aggressively can permanently warp thin build plates or crack the PEI coating.
3. Use a Plastic Scraper at a Low Angle
For rigid beds (glass, aluminum) or prints that survive the flex, a scraper is your next option.
How to do it:
- Use a thin, flexible plastic scraper or putty knife
- Find a corner or edge of the print where you can get underneath
- Slide the blade at a very shallow angle (nearly parallel to the bed)
- Wiggle gently and work around the perimeter — don't pry upward from one spot
Never use metal scrapers on PEI or glass. Metal will gouge PEI permanently and can chip glass. Reserve metal tools only for bare aluminum beds where scratches don't matter.
4. Dental Floss or Fishing Line
This is the safest method for large, flat prints — zero risk of bed damage.
How to do it:
- Get a length of unwaxed dental floss or thin fishing line (monofilament)
- Work one end under a corner of the print
- Hold both ends taut and use a gentle back-and-forth sawing motion
- Slowly slide it across the entire base of the print
This cuts through the adhesion layer without any tool ever touching your bed surface. It takes a bit more time but is completely non-destructive.
5. The Freezer Trick
When cooling alone isn't enough, extreme cold finishes the job.
How to do it:
- Remove the entire build plate (with print still attached)
- Place it in your household freezer for 10–15 minutes
- Remove and try to pop the print off immediately
The extreme temperature drop causes the plastic to contract sharply, breaking even stubborn bonds. This works especially well for PLA on glass beds.
Caution: Don't put a hot plate directly in the freezer. Let it cool to room temperature first, then freeze. Thermal shock can crack glass beds or warp thin plates.
6. Isopropyl Alcohol (IPA) Soak
If you printed over a glue stick or hairspray layer, IPA dissolves those adhesives and weakens the grip.
How to do it:
- Apply a few drops of 90%+ isopropyl alcohol around the edges of the print
- Wait 1–2 minutes for capillary action to draw it underneath
- Gently try your scraper or floss again
This method targets the adhesive layer specifically, so it's most effective when you used glue stick, PVP hairspray, or tape as a bed adhesion helper.
7. Reheat the Bed to 40–50°C
This sounds counterintuitive, but for certain materials it works when cold removal fails.
When to use this: ABS and PETG can sometimes grip harder as they cool due to their molecular structure. Gently warming the bed to 40–50°C softens just the interface layer enough to break the bond.
How to do it:
- Set bed temperature to 40–50°C (not full print temp)
- Wait 2–3 minutes for the heat to reach the interface
- Try flexing or scraping now
Warning: Do NOT use this method for PLA. PLA starts softening at 60°C, and even 50°C can warp a thin print. Use cold methods for PLA instead.
How to Remove Prints by Bed Type
Different bed surfaces require different approaches. Here's a quick reference:
Glass Bed
Glass gives the smoothest bottom surface but can grip prints hard.
- Best method: Cool completely → freezer trick → IPA
- Never: Use metal tools (chips glass instantly)
- Tip: A light tap on a scraper handle can "shock" the bond loose without prying
- Prevention: A thin glue stick layer actually makes removal easier on glass, not harder — the print bonds to the glue, not the glass
PEI (Smooth vs. Textured)
PEI is the most common surface on modern printers. Smooth PEI grips harder than textured.
- Smooth PEI: Cool → flex → plastic scraper. NEVER print PETG without a release agent
- Textured PEI: Cool → flex. Textured surface is naturally easier to release from
- Never: Use metal tools or acetone (dissolves PEI)
- Cleaning: Wipe with IPA between prints. Occasional wash with dish soap removes oils
Magnetic Flexible Plate
The easiest bed type for print removal — that's why they're so popular.
- Best method: Cool below 35°C → remove plate → flex gently
- If still stuck: Flex in different directions (lengthwise, widthwise, diagonal)
- Tip: Don't flex with the plate still on the magnetic base — you need it off the printer to bend properly
How to Remove Prints by Material
Each filament behaves differently during removal. Knowing what to expect saves frustration.
PLA — Easiest to Remove
PLA contracts significantly as it cools, making it the most forgiving material for beginners. Most PLA prints self-release on PEI plates at room temperature.
- Best method: Just wait. Cool to room temp, flex plate, done.
- If stuck: Freezer trick works almost every time
- Common mistake: Removing too early while bed is still above 40°C
PETG — The "Bed Ripper"
PETG is notorious for bonding too aggressively, especially to smooth PEI. It can permanently damage your build surface if you're not careful.
- Best method: Cool fully → flex plate gently → plastic scraper
- Critical rule: Always use a release agent (glue stick or hairspray) between PETG and smooth PEI
- If badly stuck: Reheat to 45°C, then try again
- On textured PEI: Much less problematic; usually releases with a flex
ABS — Needs Warmth
ABS is printed in enclosed chambers with high bed temps (90–110°C). It grips hard when hot but can become brittle when cold.
- Best method: Let it cool slowly (don't rush with fans), then flex or scrape
- If stuck: Reheat to 40–50°C rather than freezing
- Tip: ABS printed with a brim comes off much cleaner — peel the brim separately
TPU — Gentle Peel
Flexible filaments like TPU usually don't stick as hard, but they can be tricky because they're... flexible.
- Best method: Cool fully, then peel slowly from one corner
- Tip: Pull at a low angle (close to horizontal), not straight up
- Avoid: Scrapers — they can deform the soft material. Use fingers or flex the plate
Printer-Specific Tips
The Related Searches show many people looking for printer-specific advice. Here's what you need to know for the most popular beginner machines:
Bambu Lab (A1 Mini, P1S, X1C)
Bambu Lab printers come with textured PEI plates and the Cool Plate (smooth PEI for PLA/PETG) or Engineering Plate (for high-temp materials).
- All Bambu plates are magnetic flex plates — always flex to remove
- Wait until the bed cools below 35°C (the printer displays bed temp on screen)
- A1 Mini: The smaller plate flexes easily; hold by short edges and bend lengthwise
- P1S/X1C: Larger plate needs a firmer flex; support the middle with your thumbs
- For PETG on the Cool Plate: Use Bambu's liquid glue or a standard glue stick as a release agent
Creality Ender 3 / Ender 3 V3 SE
Ender 3 models vary — older versions have a removable glass/magnetic bed, newer ones (V3 SE) have a PEI-coated flex plate.
- Ender 3 (glass bed): Let it cool to room temperature. Glass releases PLA very cleanly when cold. If stuck, freezer method works great.
- Ender 3 V3 SE (PEI flex plate): Remove plate and flex gently. The textured PEI surface releases prints easily once cool.
- Common Ender 3 issue: Over-leveled beds (nozzle too close). If prints always stick too hard, raise your Z-offset by 0.02–0.05mm.
Prusa (MK4 / Mini)
Prusa printers come with interchangeable flex plates — smooth PEI, textured PEI, or satin.
- Let the print cool; Prusa's PrusaSlicer even has a "wait for bed temp" option before removal
- Smooth PEI: Flex gently; if using PETG, always apply a separating layer
- Textured PEI: The easiest release surface Prusa makes — prints usually pop off at 30°C
- Satin sheet: Great for PETG without needing a release agent
How Your Print Settings Affect Removal
Sometimes the fix isn't in how you remove — it's in how you print.
First Layer Height & Z-Offset
This is the single biggest factor in removal difficulty.
- Too close (Z-offset too low): First layer is squished paper-thin, transparent-looking, and bonds like glue. Raise Z-offset by 0.02mm increments.
- Just right: First layer is flat and slightly squished, with visible but merged lines. Should release cleanly after cooling.
- Too far (Z-offset too high): First layer barely sticks and may peel mid-print. This causes warping and adhesion failure.
Brim vs. Raft vs. Skirt
These first-layer additions affect removal differently:
- Skirt: No effect on removal — just a test line around the print
- Brim: Increases bed contact area. Makes the print stick better but adds a thin "lip" you need to trim after removal. Easier to pry under the brim edge with a scraper.
- Raft: Creates a thick sacrificial layer between print and bed. The raft sticks to the bed; your print peels off the raft. Makes removal easy but leaves a rougher bottom surface.
Bed Temperature by Material
Running the right bed temp is key. Too hot = stuck print. Reference values:
| Material | Recommended Bed Temp | Notes |
|---|---|---|
| PLA | 50–60°C | Lower = easier removal |
| PETG | 70–80°C | Use release agent on smooth PEI |
| ABS | 90–110°C | Needs enclosure; remove warm |
| TPU | 40–50°C | Low adhesion needed |
FAQ
How long to wait before removing a 3D print from bed?
There's no fixed time — it depends on bed size, material, and room temperature. As a general rule: wait until the bed drops below 30–35°C for PLA, or below 40°C for PETG and ABS. For most prints, this means 10–30 minutes. Larger prints on thick glass beds may take over an hour. When in doubt, wait longer — there's no downside to extra cooling.
Why won't my 3D print come off the bed?
The most common cause is an over-squished first layer (Z-offset too low). Other causes: bed temperature too high, PETG printed directly on smooth PEI without a release agent, or removing too soon while the bed is still warm. Try the methods in this guide starting from #1, and check your Z-offset calibration for future prints.
How to remove stuck PLA from bed?
PLA responds best to temperature changes. First, let it cool completely to room temperature — many PLA prints release on their own. If still stuck, flex a magnetic plate or use the freezer trick (10–15 minutes). PLA almost never requires chemical methods or force. If your PLA is always stuck hard, your nozzle is too close to the bed.
Can you remove a 3D print while the bed is still hot?
You can, but you probably shouldn't. Hot prints are soft and can warp or deform when you apply force. The adhesion is also at its maximum while hot. The only exception is ABS — if it's going to be reheated for post-processing anyway, a careful warm removal with a scraper can work. For PLA and PETG, always wait for cooling.
Final Tips to Prevent Prints from Sticking Too Hard
The best removal technique is prevention. Keep these habits:
- Calibrate Z-offset properly. Your first layer should be flat and squished, but not transparent. If you can see through it, you're too close.
- Use a release agent for PETG. A thin glue stick layer on smooth PEI saves your bed. Seriously — just do it every time.
- Clean your bed with IPA between prints. Oils from your fingers build up and create uneven adhesion. A quick wipe with 90% isopropyl alcohol keeps things consistent.
- Match bed temp to material. Don't use "one temperature for everything." Drop PLA to 50°C if prints stick too hard; raise TPU to 50°C if they won't stick at all.
- Consider a textured PEI plate. If you're constantly fighting stuck prints on smooth surfaces, textured PEI offers the best balance of adhesion during printing and easy release after cooling.
Getting your print off the bed shouldn't be a battle. With the right approach for your specific setup, it becomes the easiest part of the whole 3D printing process.