How to 3D Print in Multiple Colors: A Complete Beginner's Guide
A complete beginner's guide to multicolor 3D printing. Covers 5 methods from free manual swaps to automatic AMS systems, with step-by-step instructions for Bambu Studio, Cura, and PrusaSlicer.
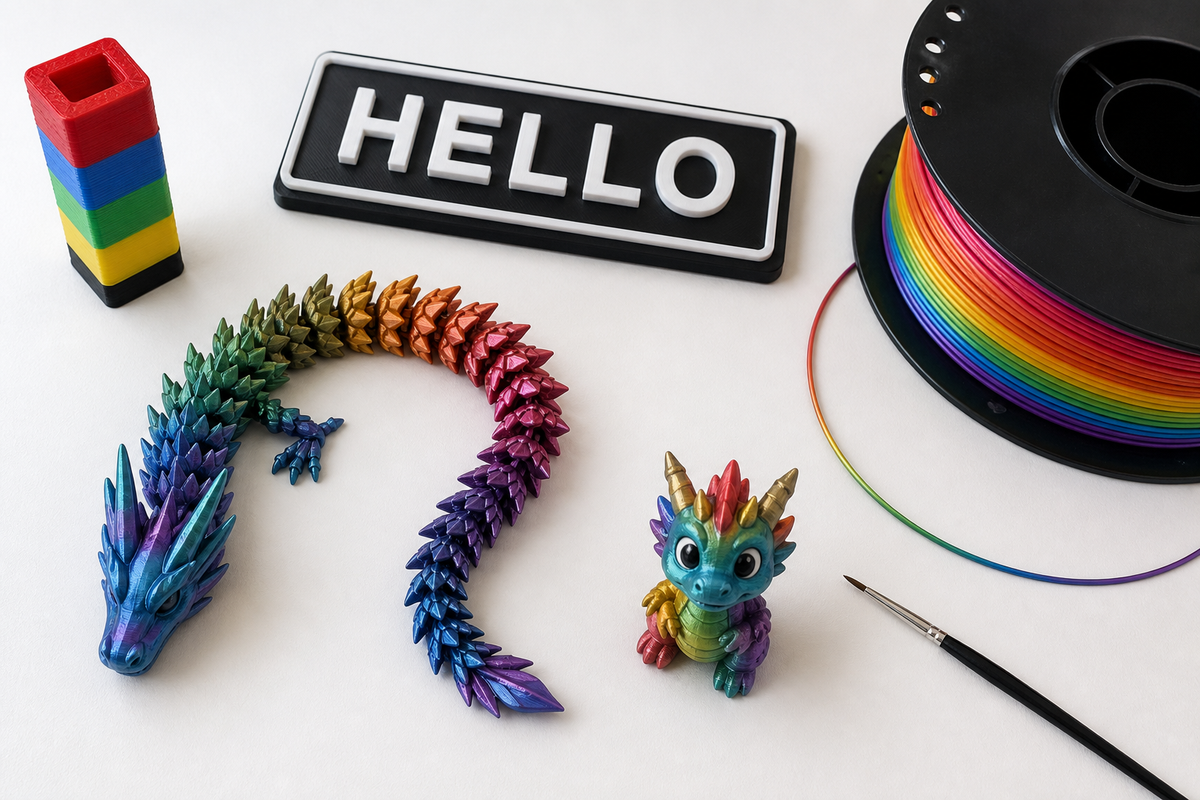
You have seen those stunning multicolor 3D prints online and you want to make them yourself. The good news: every FDM 3D printer can print in multiple colors, and the simplest method costs nothing extra.
The key to understanding how to 3d print in multiple colors is knowing that there are several very different methods, each with its own trade-offs in cost, complexity, and results. Some give you two-tone layer effects for free. Others let you paint 16 colors into a single layer automatically. And one method skips the printer entirely.
This guide covers all five approaches, from zero-cost to fully automatic, so you can pick the method that matches your printer, budget, and patience level.
Ways to Print Multiple Colors on a 3D Printer
Here is a quick comparison before we dive into each method:
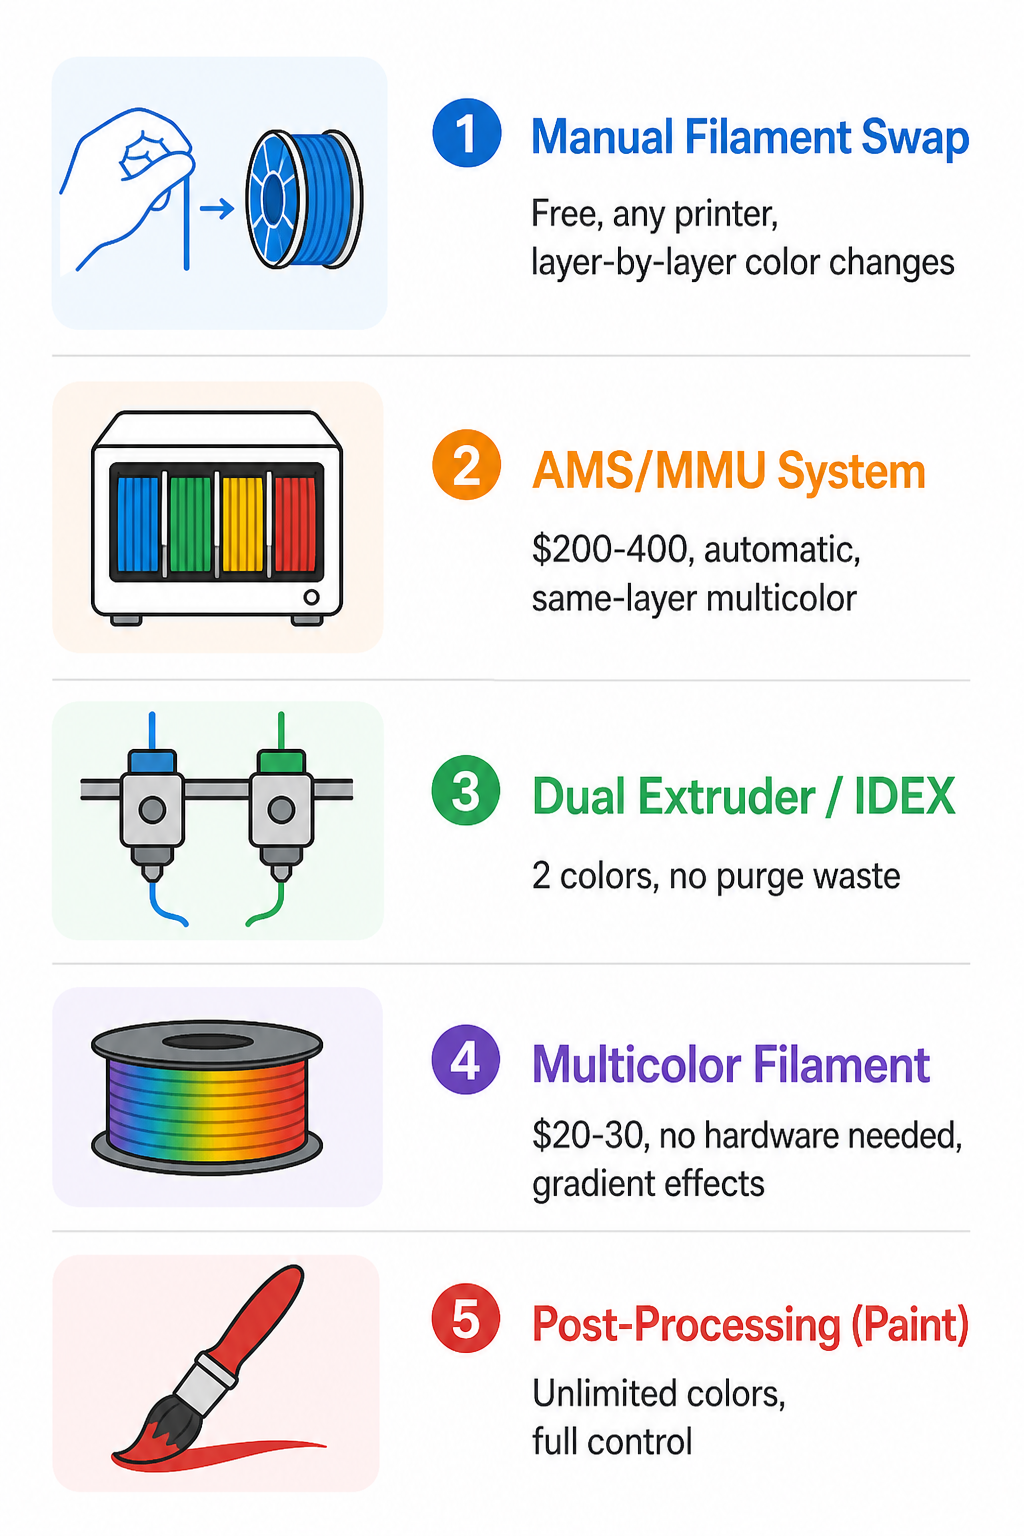
| Method | Cost | Colors | Same-Layer Multi-Color? | Hardware Needed | Best For |
|---|---|---|---|---|---|
| Manual filament swap | Free | Unlimited | No (layer-by-layer only) | None | Signs, nameplates, simple designs |
| AMS/MMU system | $200-400 | 4-16 | Yes | AMS, MMU3, or Palette | Frequent multicolor, detailed models |
| Dual extruder / IDEX | $300-1500 | 2 | Yes | Dual-nozzle printer | Two-color prints, soluble supports |
| Multicolor filament | $20-30/spool | Gradient | No (random transitions) | None | Artistic effects, zero effort |
| Painting (post-process) | $10-30 in supplies | Unlimited | N/A | Brushes, paint | Display models, maximum detail |
Method 1: Manual Filament Swap (Free, Works on Any Printer)
This is how to print multiple colors on a 3d printer without spending a single extra dollar. Your slicer inserts a pause command at a specific layer. When the printer reaches that layer, it stops and waits. You pull out the current filament, load a new color, purge until it runs clean, and hit resume.
What you get: Clean color changes that happen between layers. Perfect for text on a contrasting background, logos, flags, or any design where colors stack vertically.
What you cannot do: Multiple colors within the same layer (that requires Method 2 or 3).
Step-by-Step: Manual Color Change
- Choose a suitable model. The best first project is a two-color nameplate or sign where the base is one color and raised text is another. The color boundary falls at a natural layer height.
- Import into your slicer and note the layer number where the color should change (use the layer preview slider).
- Add a color change command at that layer (see slicer-specific instructions below).
- Start the print. When the printer pauses, it moves the nozzle aside.
- Unload the current filament (manually or via the printer menu).
- Load the new color and extrude 30-50mm until the new color runs cleanly with no traces of the old color.
- Resume the print. Stay nearby for the first few layers to make sure adhesion is good.
How to Do It in Bambu Studio (Bambu Lab Printers)
- Slice your model normally
- Switch to the "Preview" tab
- Move the layer slider on the right side to your target layer
- Click the "+" icon next to the slider
- Select "Add Color Change"
- The printer will automatically pause, retract filament, and prompt you to load new color
This works on every Bambu Lab printer (A1 Mini, A1, P1S, X1C) even without an AMS.
How to Do It in Cura (Creality Ender 3, Ender 3 V3, etc.)
- Slice your model
- Go to Extensions > Post Processing > Modify G-Code
- Click "Add a script" and select "Filament Change" (or "Pause at height")
- Set the layer number or Z-height where you want the color change
- Set "Retraction Amount" to your normal retraction distance
- Save and slice
For Creality printers, the machine will beep and display a message when it reaches the pause layer. Load your new filament through the normal load procedure, then press "Resume" on the screen.
How to Do It in PrusaSlicer / OrcaSlicer
- Slice your model
- In the Preview, move the layer slider to your target layer
- Right-click the "+" icon and select "Add color change"
- The slicer inserts an M600 command, which triggers an automatic filament change procedure on Prusa, Klipper, and most Marlin-based printers
This method works perfectly for learning how to 3d print in multiple colors without any investment.
Method 2: Automatic Multi-Material Systems (AMS, MMU, Palette)
If you want the printer to handle color changes automatically, including multiple colors within the same layer, you need a multi-material system. These devices sit beside (or on top of) your printer and feed different filaments to a single nozzle on command.
How it works: The slicer assigns colors to different parts of your model. During printing, the system automatically retracts the current filament, loads the next color, purges the old color into a "purge tower" (a sacrificial block printed alongside your model), and continues. This happens dozens or hundreds of times per print.
Bambu Lab AMS / AMS Lite
The most beginner-friendly multi filament 3d printer setup available in 2026.
- AMS (full size): Holds 4 spools, enclosed with humidity control. Works with P1S, X1C, X2D.
- AMS Lite: Holds 4 spools, open design, lighter. Works with A1 Mini, A1.
- Colors: 4 per AMS unit. Chain up to 4 units for 16 colors.
- Software: Bambu Studio has a built-in paint tool. Load a model, click "paint by color," and use a brush to assign colors to different surfaces. One click to slice and send.
Why beginners love it: The workflow is drag-and-drop simple. Download a multicolor model from MakerWorld, open in Bambu Studio, assign filaments, print. No G-code editing, no manual timing.
Prusa MMU3 (Multi Material Upgrade 3)
- Works with Prusa MK4S and MK3.9
- 5 filament slots
- Open-source design
- Uses PrusaSlicer for color assignment
- More tinkering required than AMS, but strong community support
Mosaic Palette
- Third-party device that works with almost any FDM printer
- Splices filament segments together before feeding to the printer
- Good option if you already own a printer and do not want to replace it
The Purge Tower Trade-Off
Every AMS/MMU system creates a purge tower: a block of wasted filament that ensures clean color transitions. Expect 20-50% extra filament consumption compared to a single-color print, depending on how many color changes your model requires. For a 4-color model with frequent transitions, the purge tower can be nearly as large as the model itself.
Some slicers let you "purge into infill" to reduce waste, routing purge material inside the actual model instead of building a separate tower.
Method 3: Dual Extruder and IDEX Printers
Dual extruder printers have two nozzles, each loaded with a different filament. When the printer needs to switch colors, it simply activates the other nozzle. No purge tower needed.
Dual extruder: Two nozzles mounted on the same carriage. One prints while the other sits idle (and may ooze).
IDEX (Independent Dual Extrusion): Two completely separate print heads on independent rail systems. Cleaner results because the idle head parks far away from the print.
Pros:
- No purge tower = no wasted filament
- Can use soluble support material (PVA with PLA, HIPS with ABS)
- Faster than single-nozzle AMS for two-color prints
Cons:
- Usually limited to 2 colors
- More expensive printers
- Calibration (nozzle alignment) can be tricky
Recommended for beginners: If you specifically want a dual-color setup without purge waste, look at IDEX printers from FlashForge or Sovol. But for most beginners, the AMS route is simpler to set up and supports more colors.
Method 4: Multicolor Filament (Zero Effort, No Hardware)
The laziest path to a colorful print: buy filament that already has multiple colors built in. No hardware changes, no slicer tricks, just load and print.
Types of multicolor 3d filament:
- Rainbow/gradient PLA: Transitions through the full spectrum over the length of the spool. The color you get depends on where on the spool you start and how much filament the print uses.
- Dual-color coextrusion: Two colors twisted together in a single strand. Creates a marbled or swirled effect.
- Silk multicolor: Metallic finish that shifts between 2-3 colors depending on viewing angle.
- Color-change (temperature reactive): Changes color when you touch it or when ambient temperature shifts.
What to expect: You cannot control where specific colors appear on your model. The results are organic and somewhat random, which looks great on artistic pieces (vases, dragons, abstract sculptures) but is not suitable for logos or precise color placement.
Cost: $20-30 per spool, same as regular specialty filament. Zero extra hardware.
This method lets you 3d print with multiple colors on any printer, including the cheapest models on the market.
Method 5: Paint Your Prints (Unlimited Colors, Full Control)
Sometimes the best way to get multicolor results is to print in a single neutral color and add paint afterward. This gives you unlimited colors, precise placement, gradients, weathering effects, and details no printer can match.
Basic workflow:
- Print in gray or white PLA
- Sand the surface smooth (start at 200 grit, work up to 400-600)
- Apply spray primer (fills layer lines and creates a paintable surface)
- Paint with acrylic paints (brush or airbrush)
- Seal with clear coat for durability
For a detailed walkthrough on surface preparation, see our guide on sanding 3D prints. And for paint selection, techniques, and finishing, check out painting 3D prints.
When to paint instead of multicolor print:
- You need photorealistic colors or gradients
- Your model has tiny color details smaller than what filament switching can resolve
- You want weathering, metallic, or special effects
- You do not want to waste filament on purge towers
Best Multi Color 3D Printer for Beginners (2026)
If you are shopping specifically for multicolor 3d printing capability, here are the best options ranked by ease of use:
Bambu Lab A1 Mini + AMS Lite (~$329 combo)
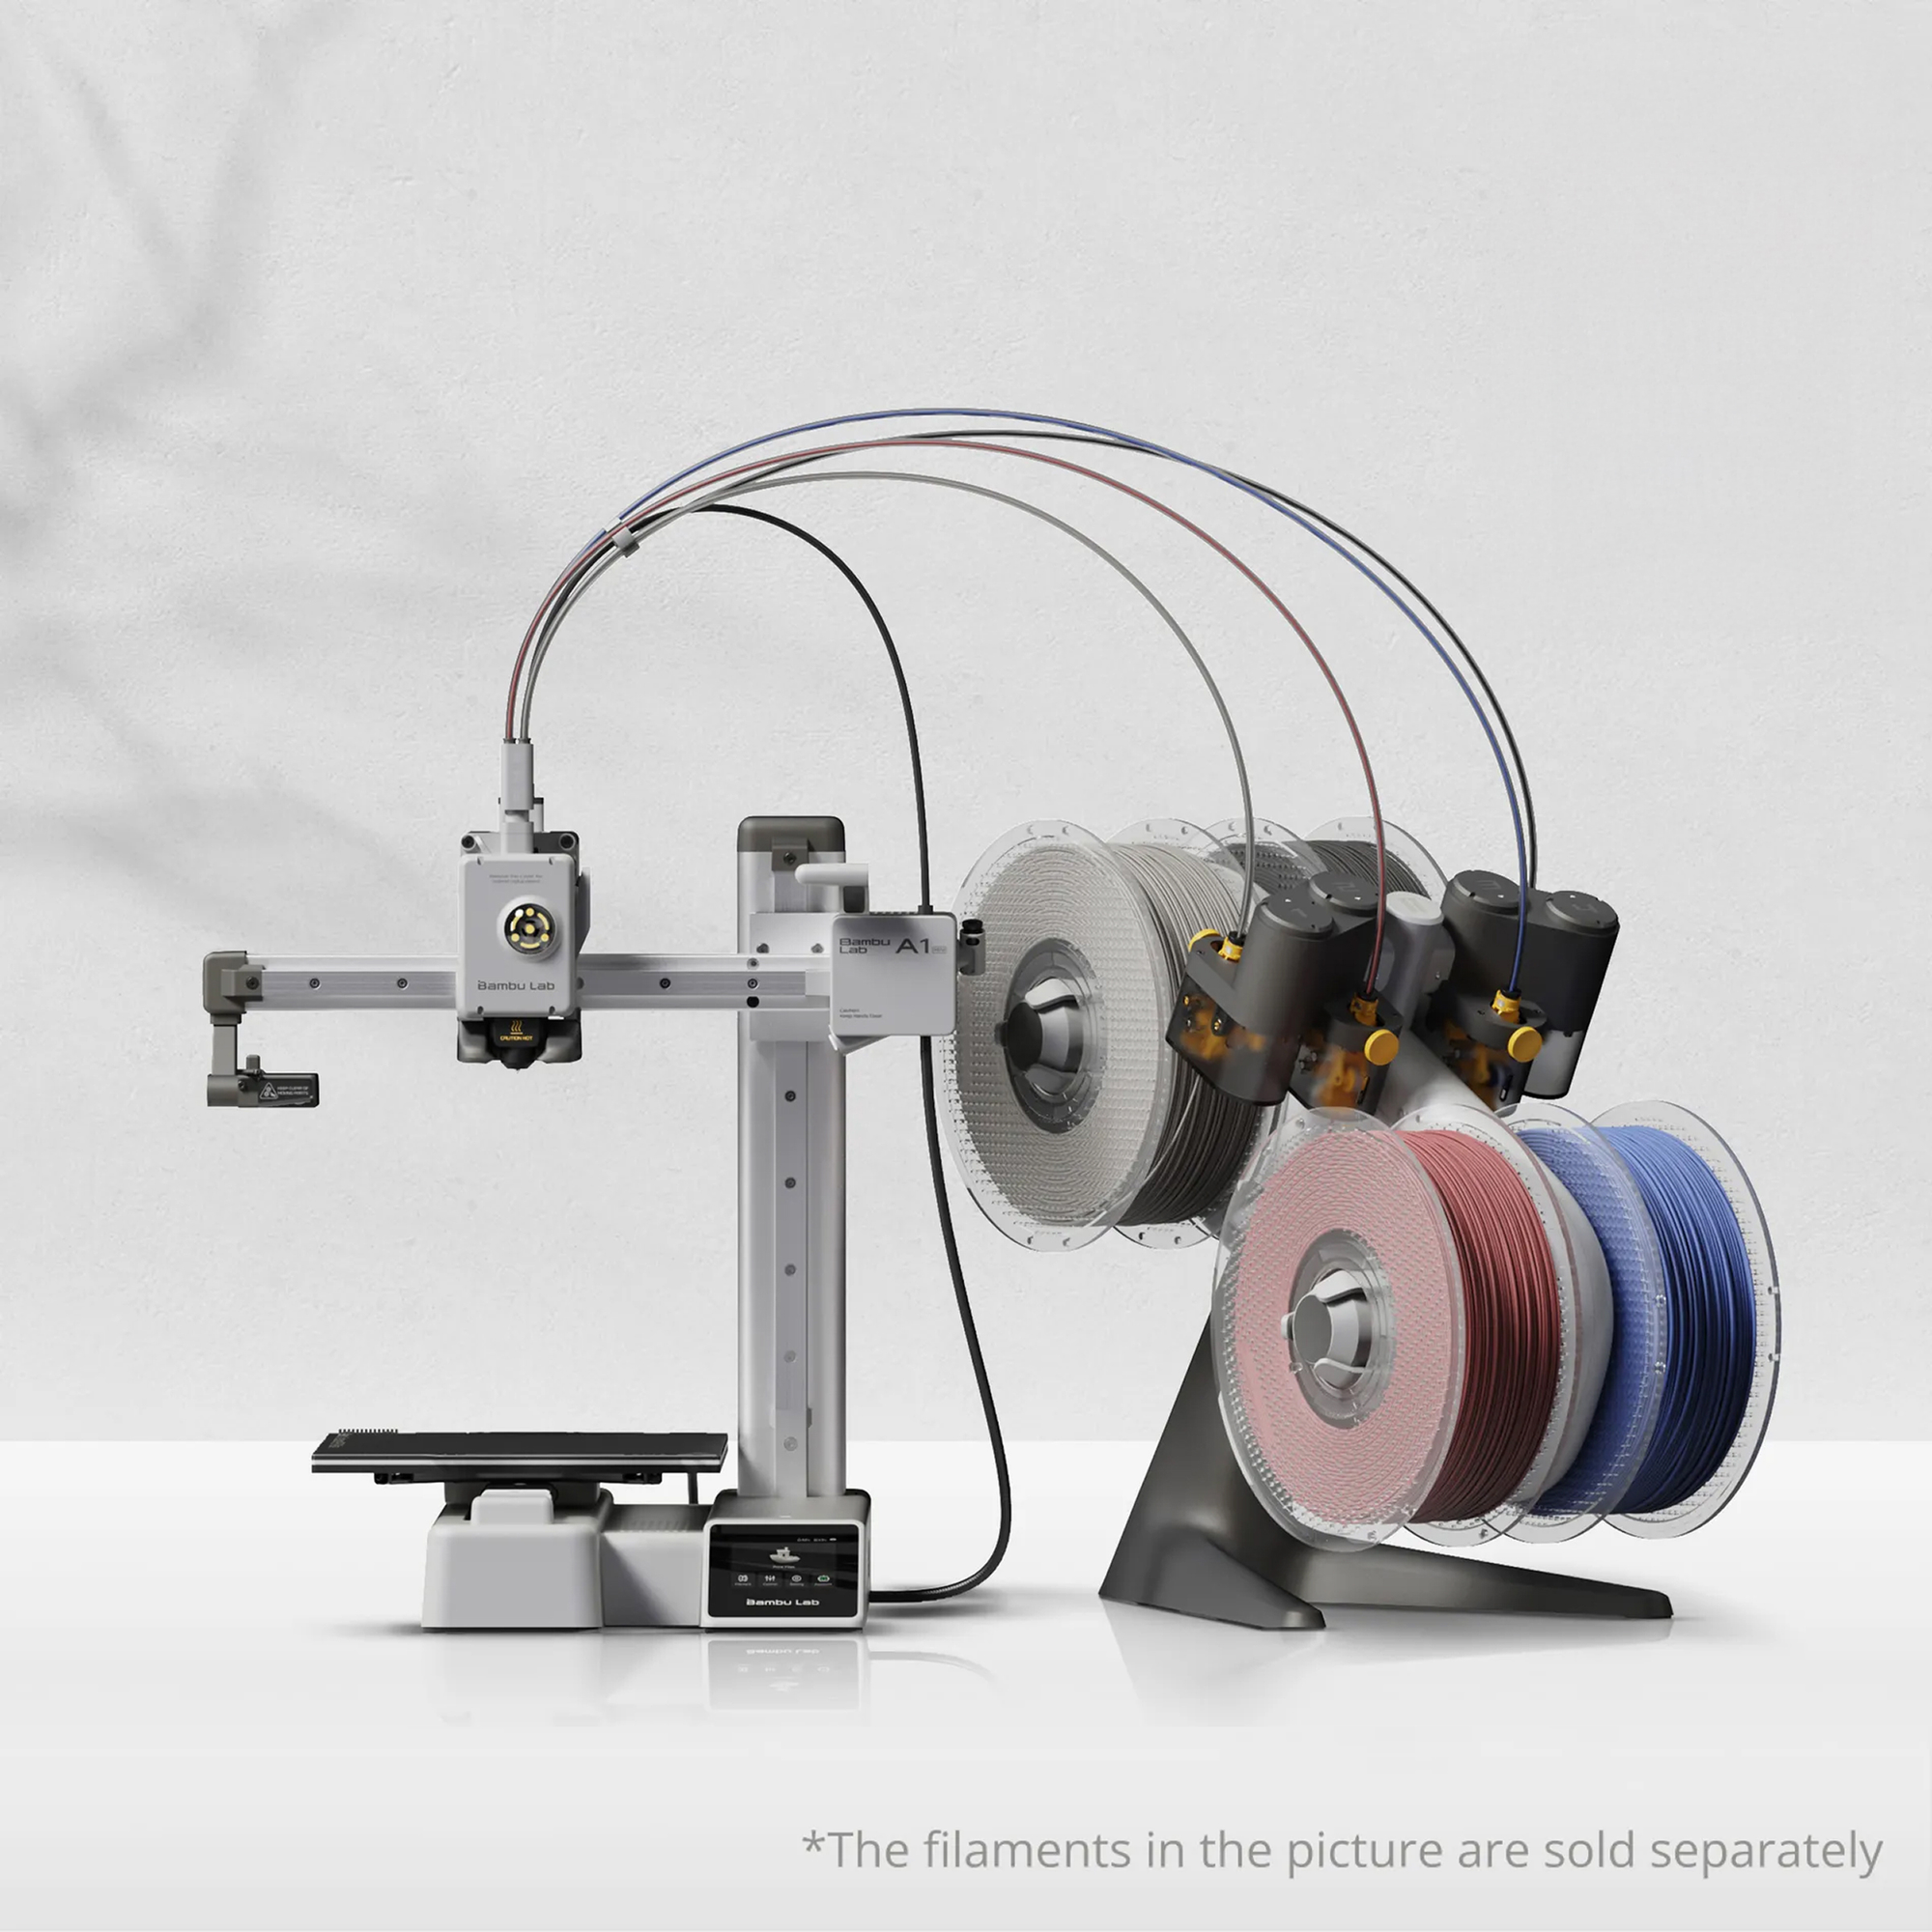
The most recommended multi color 3d printer for beginners. The A1 Mini is compact and reliable, and the AMS Lite adds 4-color automatic printing. Bambu Studio makes color assignment as easy as painting on a model. Community models on MakerWorld are often pre-configured for multicolor.
Best for: First-time multicolor printing, small to medium models, desktop-friendly size.
Bambu Lab A1 + AMS Lite (~$399 combo)
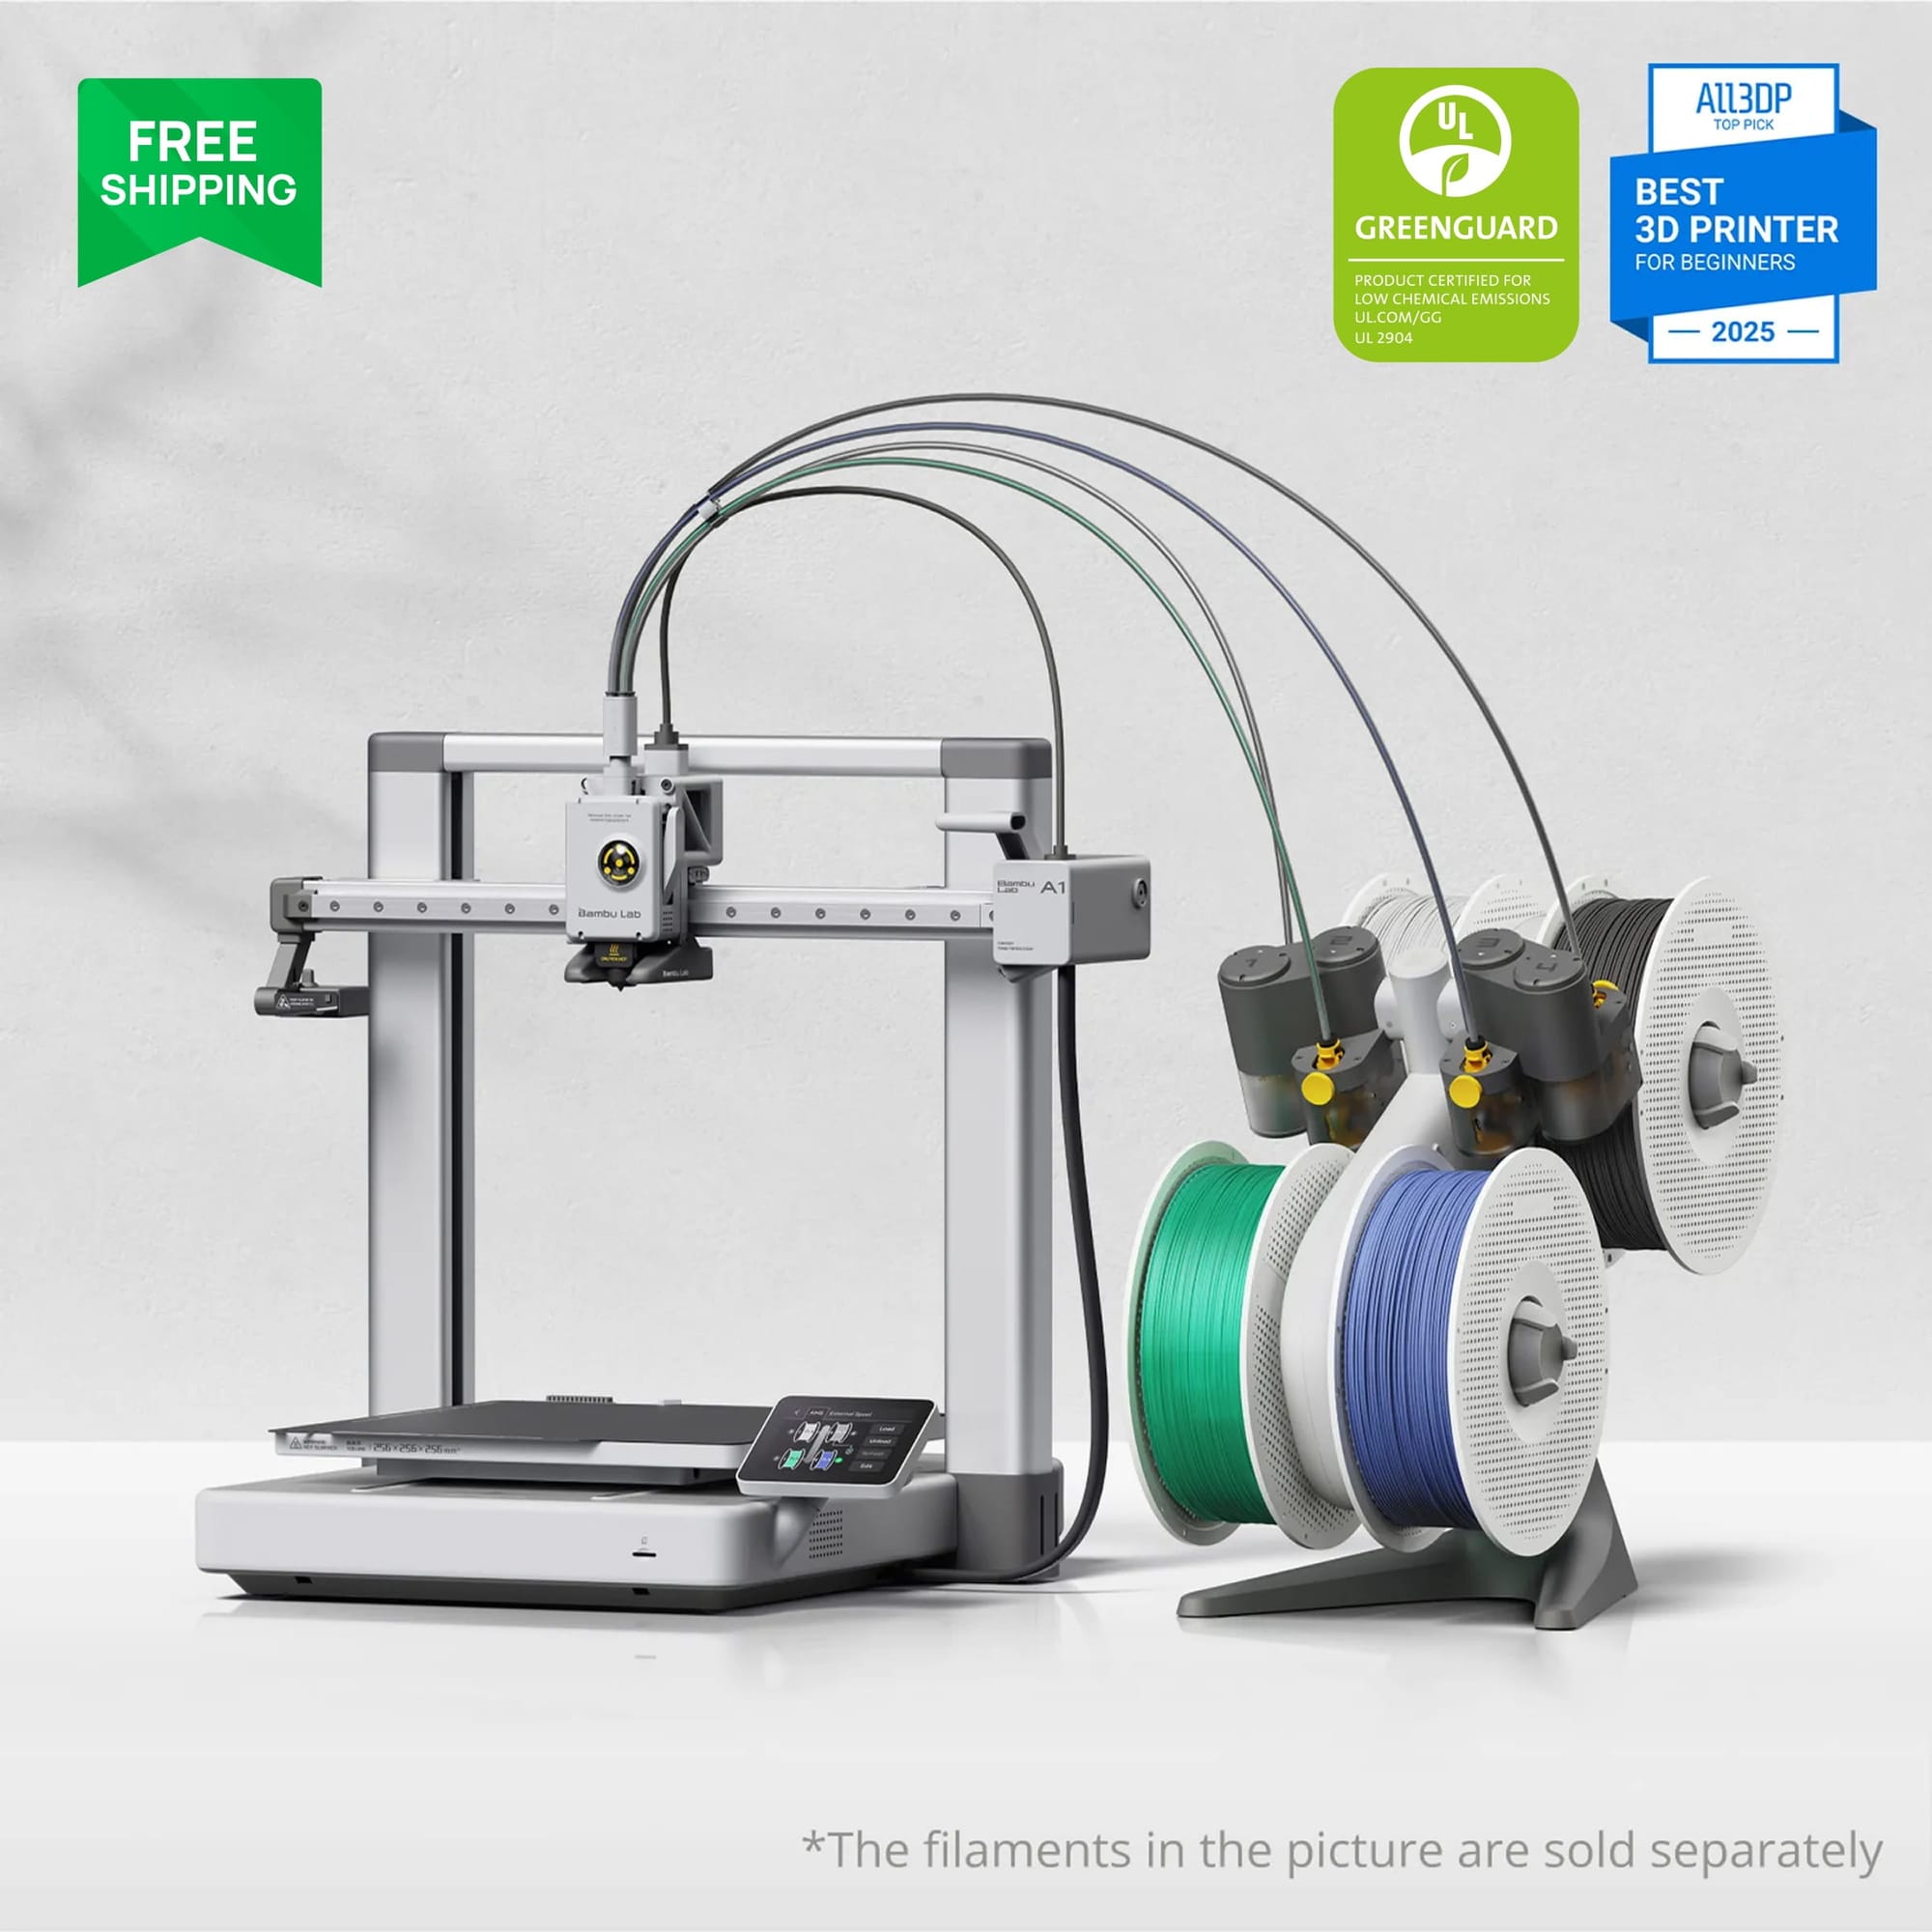
Same excellent multicolor workflow as the A1 Mini but with a larger 256x256x256mm build volume. Worth the upgrade if you plan to print larger models.
Best for: Multicolor printing with more build space.
Bambu Lab P1S + AMS (~$549 combo)
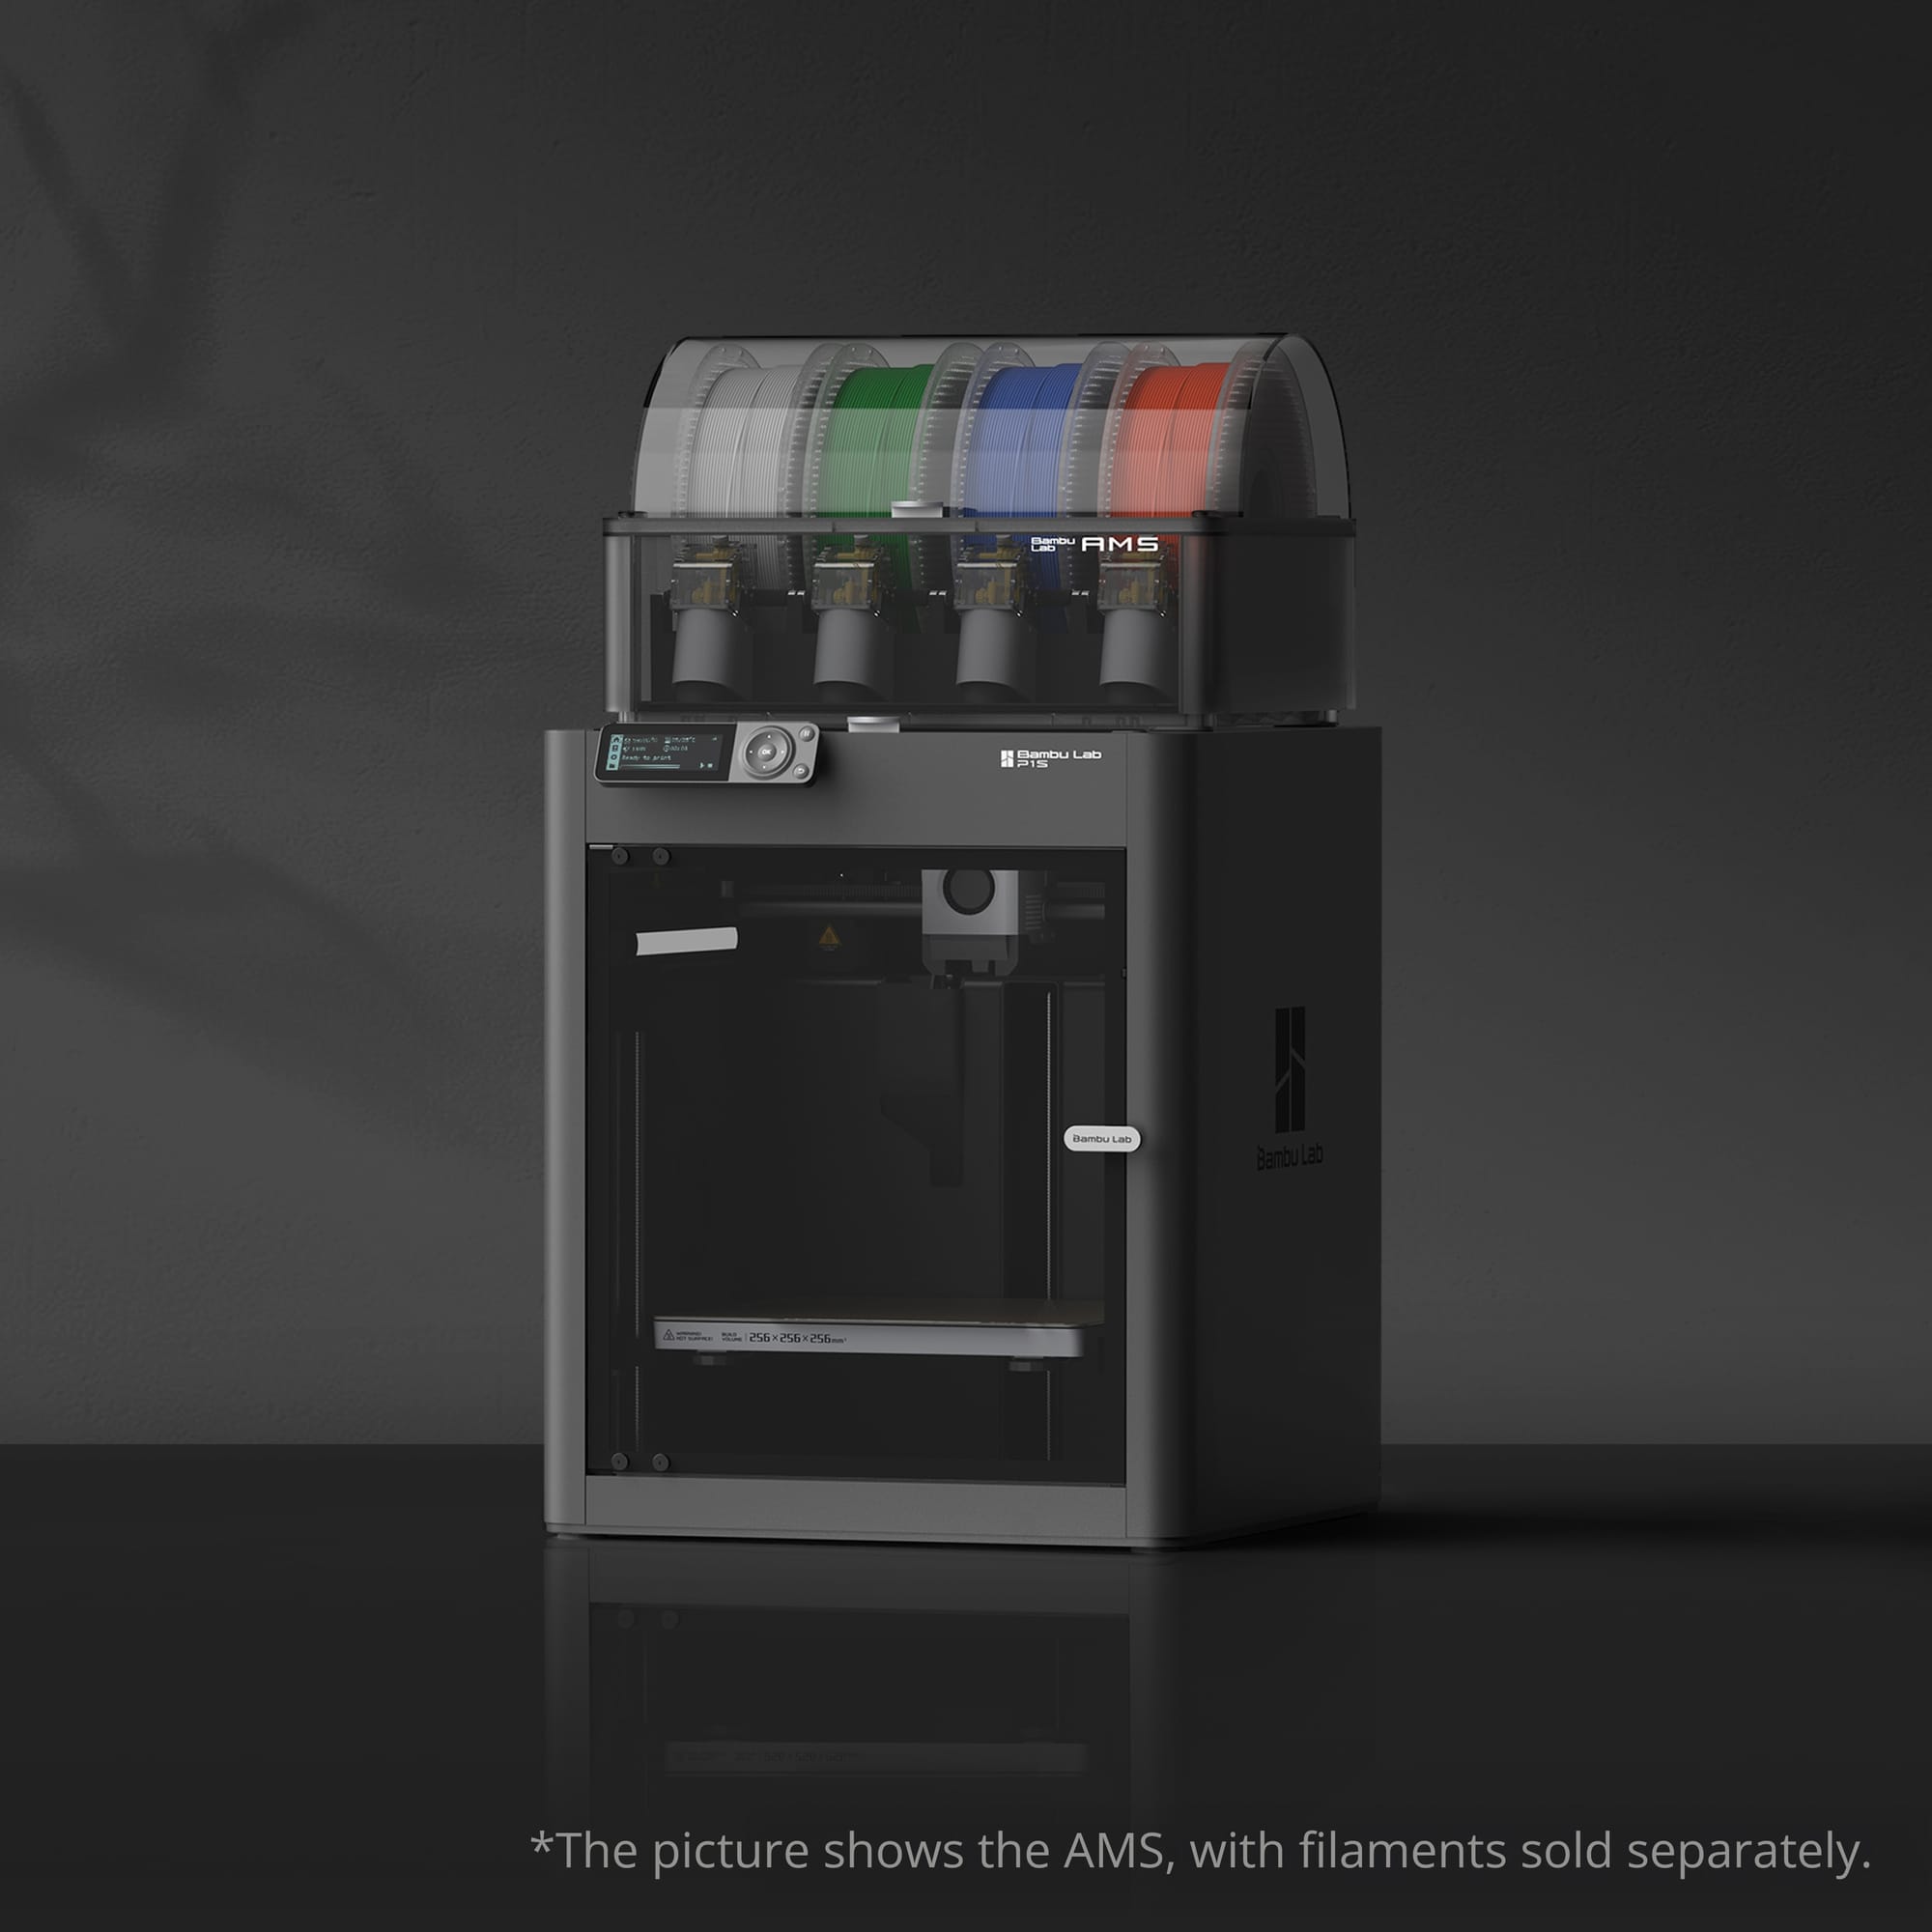
An enclosed 3D printer that handles ABS, ASA, and other engineering materials in addition to PLA. Supports up to 4 AMS units (16 colors). The enclosed design also reduces noise significantly.
Best for: Multi-material printing (not just multi-color) and users who want to print with advanced filaments.
Creality Ender 3 V3 (~$300, manual swap only)
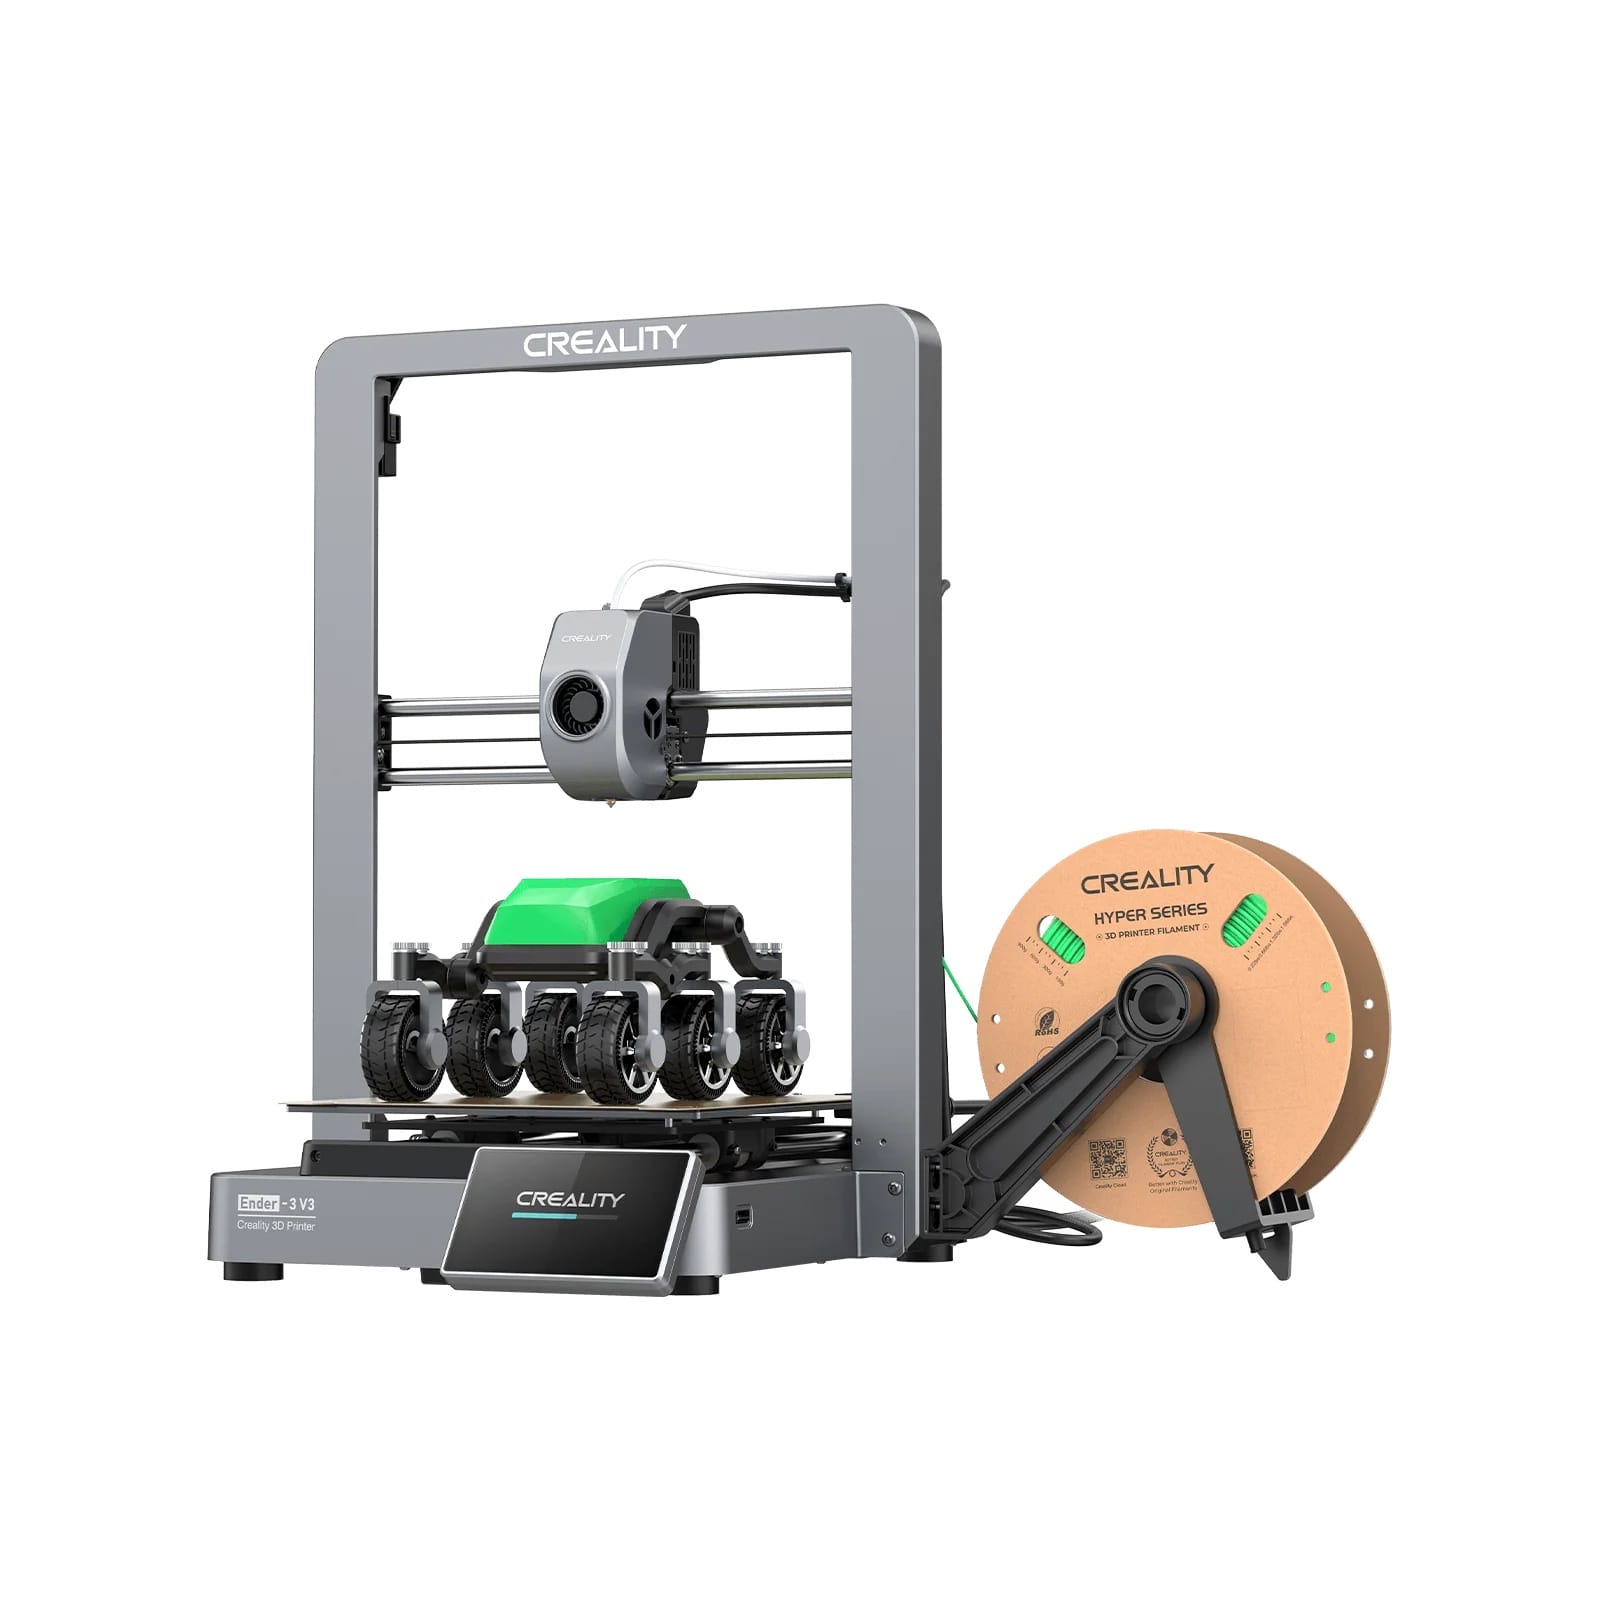
If your budget is tight, any modern Creality printer handles manual filament swaps perfectly via Cura. You will not get automatic multicolor, but you can still make impressive two-tone and three-tone prints with manual changes.
Best for: Budget-conscious beginners who only need occasional color changes.
Prusa MK4S + MMU3 (~$800+ combo)
The open-source option. The MMU3 handles 5 colors and has a strong community of users sharing tips and improvements. Requires more setup time than the Bambu ecosystem but offers maximum tinkering potential.
Best for: Makers who value open-source and community-driven development.
How to 3D Print Multiple Colors Without AMS
This question comes up constantly: can you 3D print multiple colors without AMS or any automatic system? Absolutely. Here are your options, ranked from easiest to most involved:
- Manual filament swap (covered in Method 1 above) Free, works on any printer. Perfect for layer-based color changes. The only downside is you need to be present when the printer pauses.
- Multicolor filament (covered in Method 4) Buy rainbow or dual-color filament. Zero effort, zero hardware. Results are artistic rather than precise.
- Split your model into separate color parts In your CAD software or Bambu Studio, split a model into multiple bodies by color. Print each body separately in a different filament color, then glue them together with super glue or plastic cement. This gives you precise color placement without any special hardware.
- "Painting" colors in your slicer (layer-based) Even without AMS, Bambu Studio and PrusaSlicer let you assign different extruder colors to a model. When you only have one extruder, this still works for layer-by-layer color changes. The printer just pauses for manual swaps at each transition.
- Post-processing (paint) Print in one color, paint afterward. Unlimited colors, zero hardware investment beyond a $15 paint set.
Most beginners start with manual filament swaps and upgrade to an AMS system once they get addicted to multicolor printing.
Multi-Color vs Full Color 3D Printing: What Is the Difference?
These terms sound similar but mean very different things:
Multi-color 3D printing (what this guide covers):
- Uses 2-16 discrete filament colors
- Each small area of the model is one solid color
- Hard boundaries between colors (like a coloring book)
- Achievable on consumer FDM printers ($200-1000)
- This is what a color 3d printer in the consumer market does
Full color 3D printing (industrial):
- Mixes CMYK-like base materials to create any shade
- Smooth gradients, photorealistic textures, thousands of colors
- Technologies: PolyJet (Stratasys), Binder Jetting (HP), DLP with colored resins
- A polyjet 3d printer full color system costs $50,000-200,000+
- A cmyk 3d printer uses inkjet-like deposition of colored materials
Full color resin 3D printing (emerging):
- Some newer resin printers (like the Chromaset system) can produce multi-color results
- Full color resin 3d printing is still early-stage for consumers
- Currently limited in color gamut compared to PolyJet
- Expect rapid improvements in 2026-2027
Bottom line for beginners: The multicolor FDM methods in this guide give you excellent results for the vast majority of projects. Full color is overkill for home use and not yet available at consumer prices. If you need photorealistic color, use Method 5 (paint your prints).
For more context on FDM vs resin capabilities, see our comparison of resin vs filament 3D printers.
Troubleshooting Common Multi-Color Problems
Color Bleeding (Old Color Showing Through)
Symptom: After a filament change, the first few millimeters of the new color still have traces of the old color.
Fix:
- Increase purge amount in your slicer settings (add 20-50mm more)
- For manual swaps: extrude more filament until the color is 100% clean before resuming
- Light-to-dark transitions bleed less than dark-to-light (plan accordingly)
Purge Tower Falling Over
Symptom: Mid-print, the purge tower gets knocked over by the print head or peels off the build plate.
Fix:
- Add a brim to the purge tower in slicer settings
- Position the purge tower away from the model (avoid nozzle travel paths)
- Reduce travel speed to prevent the nozzle from catching on curled edges
- Enable "Purge into infill" if your slicer supports it (reduces tower size)
Layer Adhesion Issues After Color Change
Symptom: The layer where color changes happen is weaker or separates easily.
Fix:
- Ensure both filaments print at the same temperature (or very close)
- After loading new filament, let the nozzle sit at temperature for 10-15 seconds before resuming
- Clean any ooze from the nozzle tip before resuming
Visible Line at Color Change Layer
Symptom: A noticeable seam or ridge at the exact layer where you switched colors.
Fix:
- Set "Extra restart distance" to 0 in retraction settings
- For manual swaps: be precise with the amount extruded before resuming
- Choose color change points at natural geometry transitions (edges, corners) where a line is less visible
Stringing Between Colors
If you notice thin strings of the old color appearing in the new-color area, your retraction settings may need tuning. Check our guide on 3D print stringing for detailed solutions.
FAQ
Can a 3D printer print multiple colors at once?
A single-nozzle printer handles one color at a time, but automatic systems like the Bambu Lab AMS or Prusa MMU3 switch between colors so quickly that the result looks like simultaneous multicolor. Dual-extruder and IDEX printers can genuinely print two colors in the same layer at the same time since they have two independent nozzles.
What is the best 3D printer for beginners that prints multiple colors?
In 2026, the Bambu Lab A1 Mini with AMS Lite (around $400 total) is the easiest entry point for automatic multicolor 3D printing. The software workflow requires no technical knowledge: download a model, assign colors by painting, print. For manual color changes only, any printer works, including budget options like the Creality Ender 3 V3.
Is multi-colour 3D printing worth it?
It depends on what you print. If you make decorative items, gifts, figurines, or display pieces, multicolor printing dramatically improves the wow factor. If you mainly print functional parts (brackets, mounts, tool holders), you rarely need multiple colors. The main cost is filament waste from purge towers, which adds 20-50% extra material per print. For most hobbyists who enjoy the creative side of 3D printing, it is absolutely worth it.
Can you 3D print multiple colors without AMS?
Yes. Manual filament swaps are free and work on every FDM printer. You add a pause command in your slicer, swap filament by hand when the printer stops, and resume. Multicolor gradient filament is another zero-hardware option that produces colorful prints automatically. You can also split models into separate parts, print each in a different color, and glue them together. None of these require an AMS, MMU, or any extra hardware.